Help Scout Integration
The Help Scout integration equips your support team with the ability to gather visual context without ever leaving the mailbox. By generating a unique recording URL straight from the sidebar, you can quickly ask customers to show rather than tell. As soon as the client finishes capturing their screen, a private note containing the secure video link is instantly appended to the active conversation.
Installation
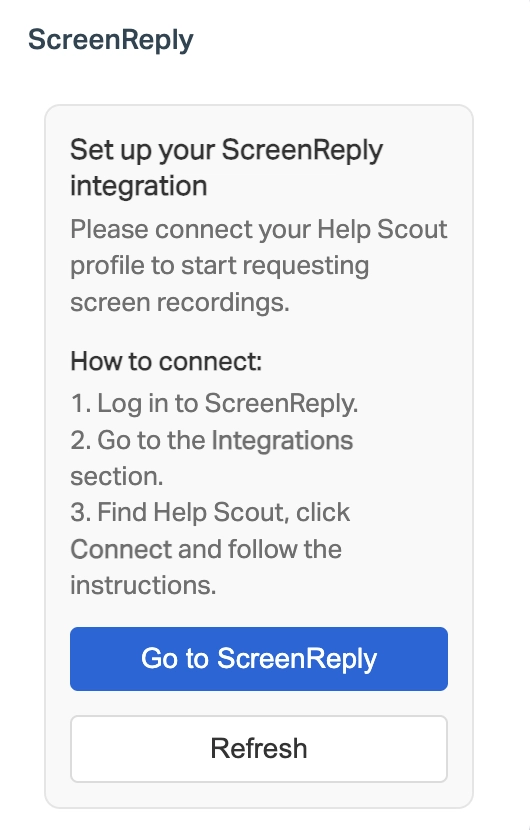
Once you have added the application to your Help Scout account, the configuration phase begins. Click on the Go to ScreenReply button to trigger the onboarding flow and link your workspaces.
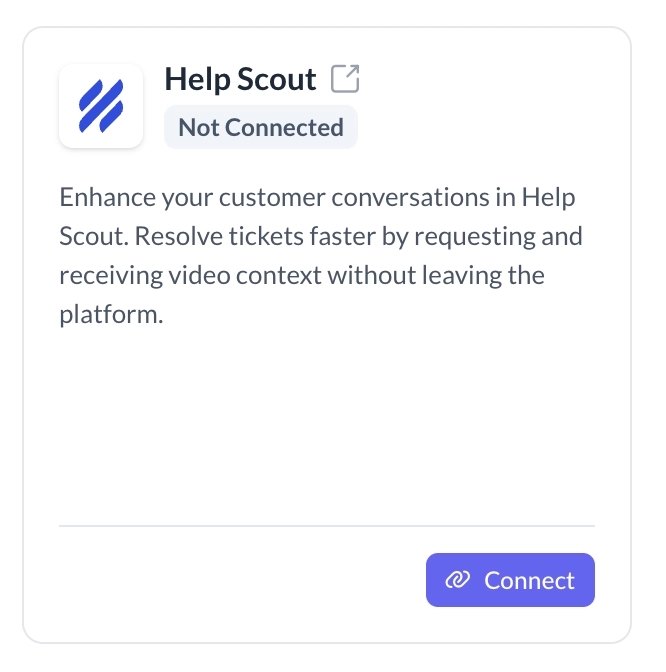
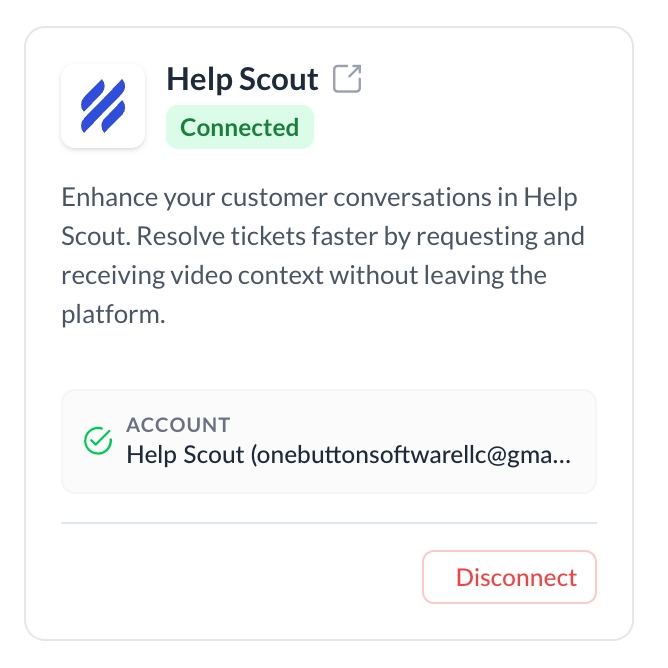
You will be routed to your ScreenReply dashboard. Navigate to the Integrations panel, locate the Help Scout application block, and press Connect.
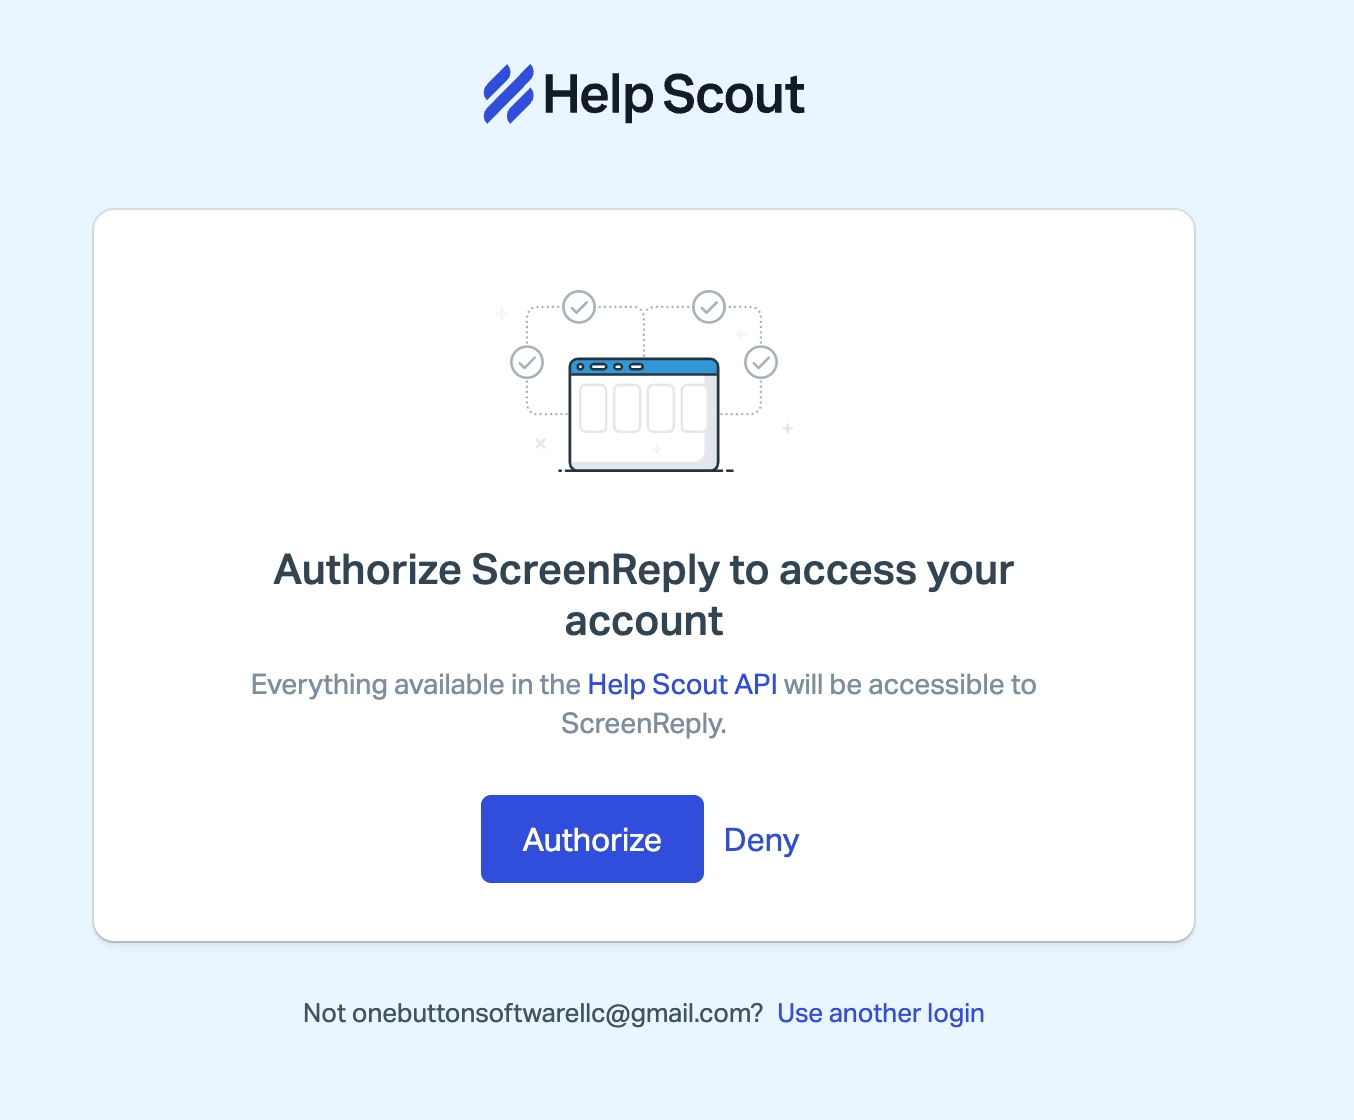
Review the requested access levels carefully and authorize ScreenReply to interact with your Help Scout mailboxes and conversation data.
Setup is now finished! Head back to your Help Scout mailbox and refresh your browser. The ScreenReply custom app is now active and accessible in the right-hand sidebar of your customer conversations.
How to Use
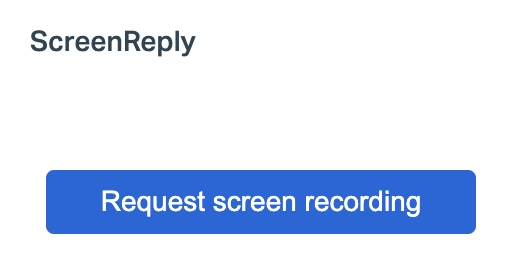
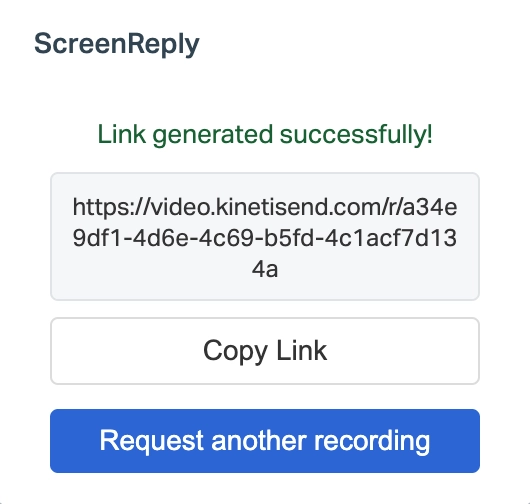
Whenever a customer reaches out with a complex issue, open their conversation thread. Look for the ScreenReply app in the right sidebar and click Request Screen Recording to instantly insert a unique capture link into your email draft.
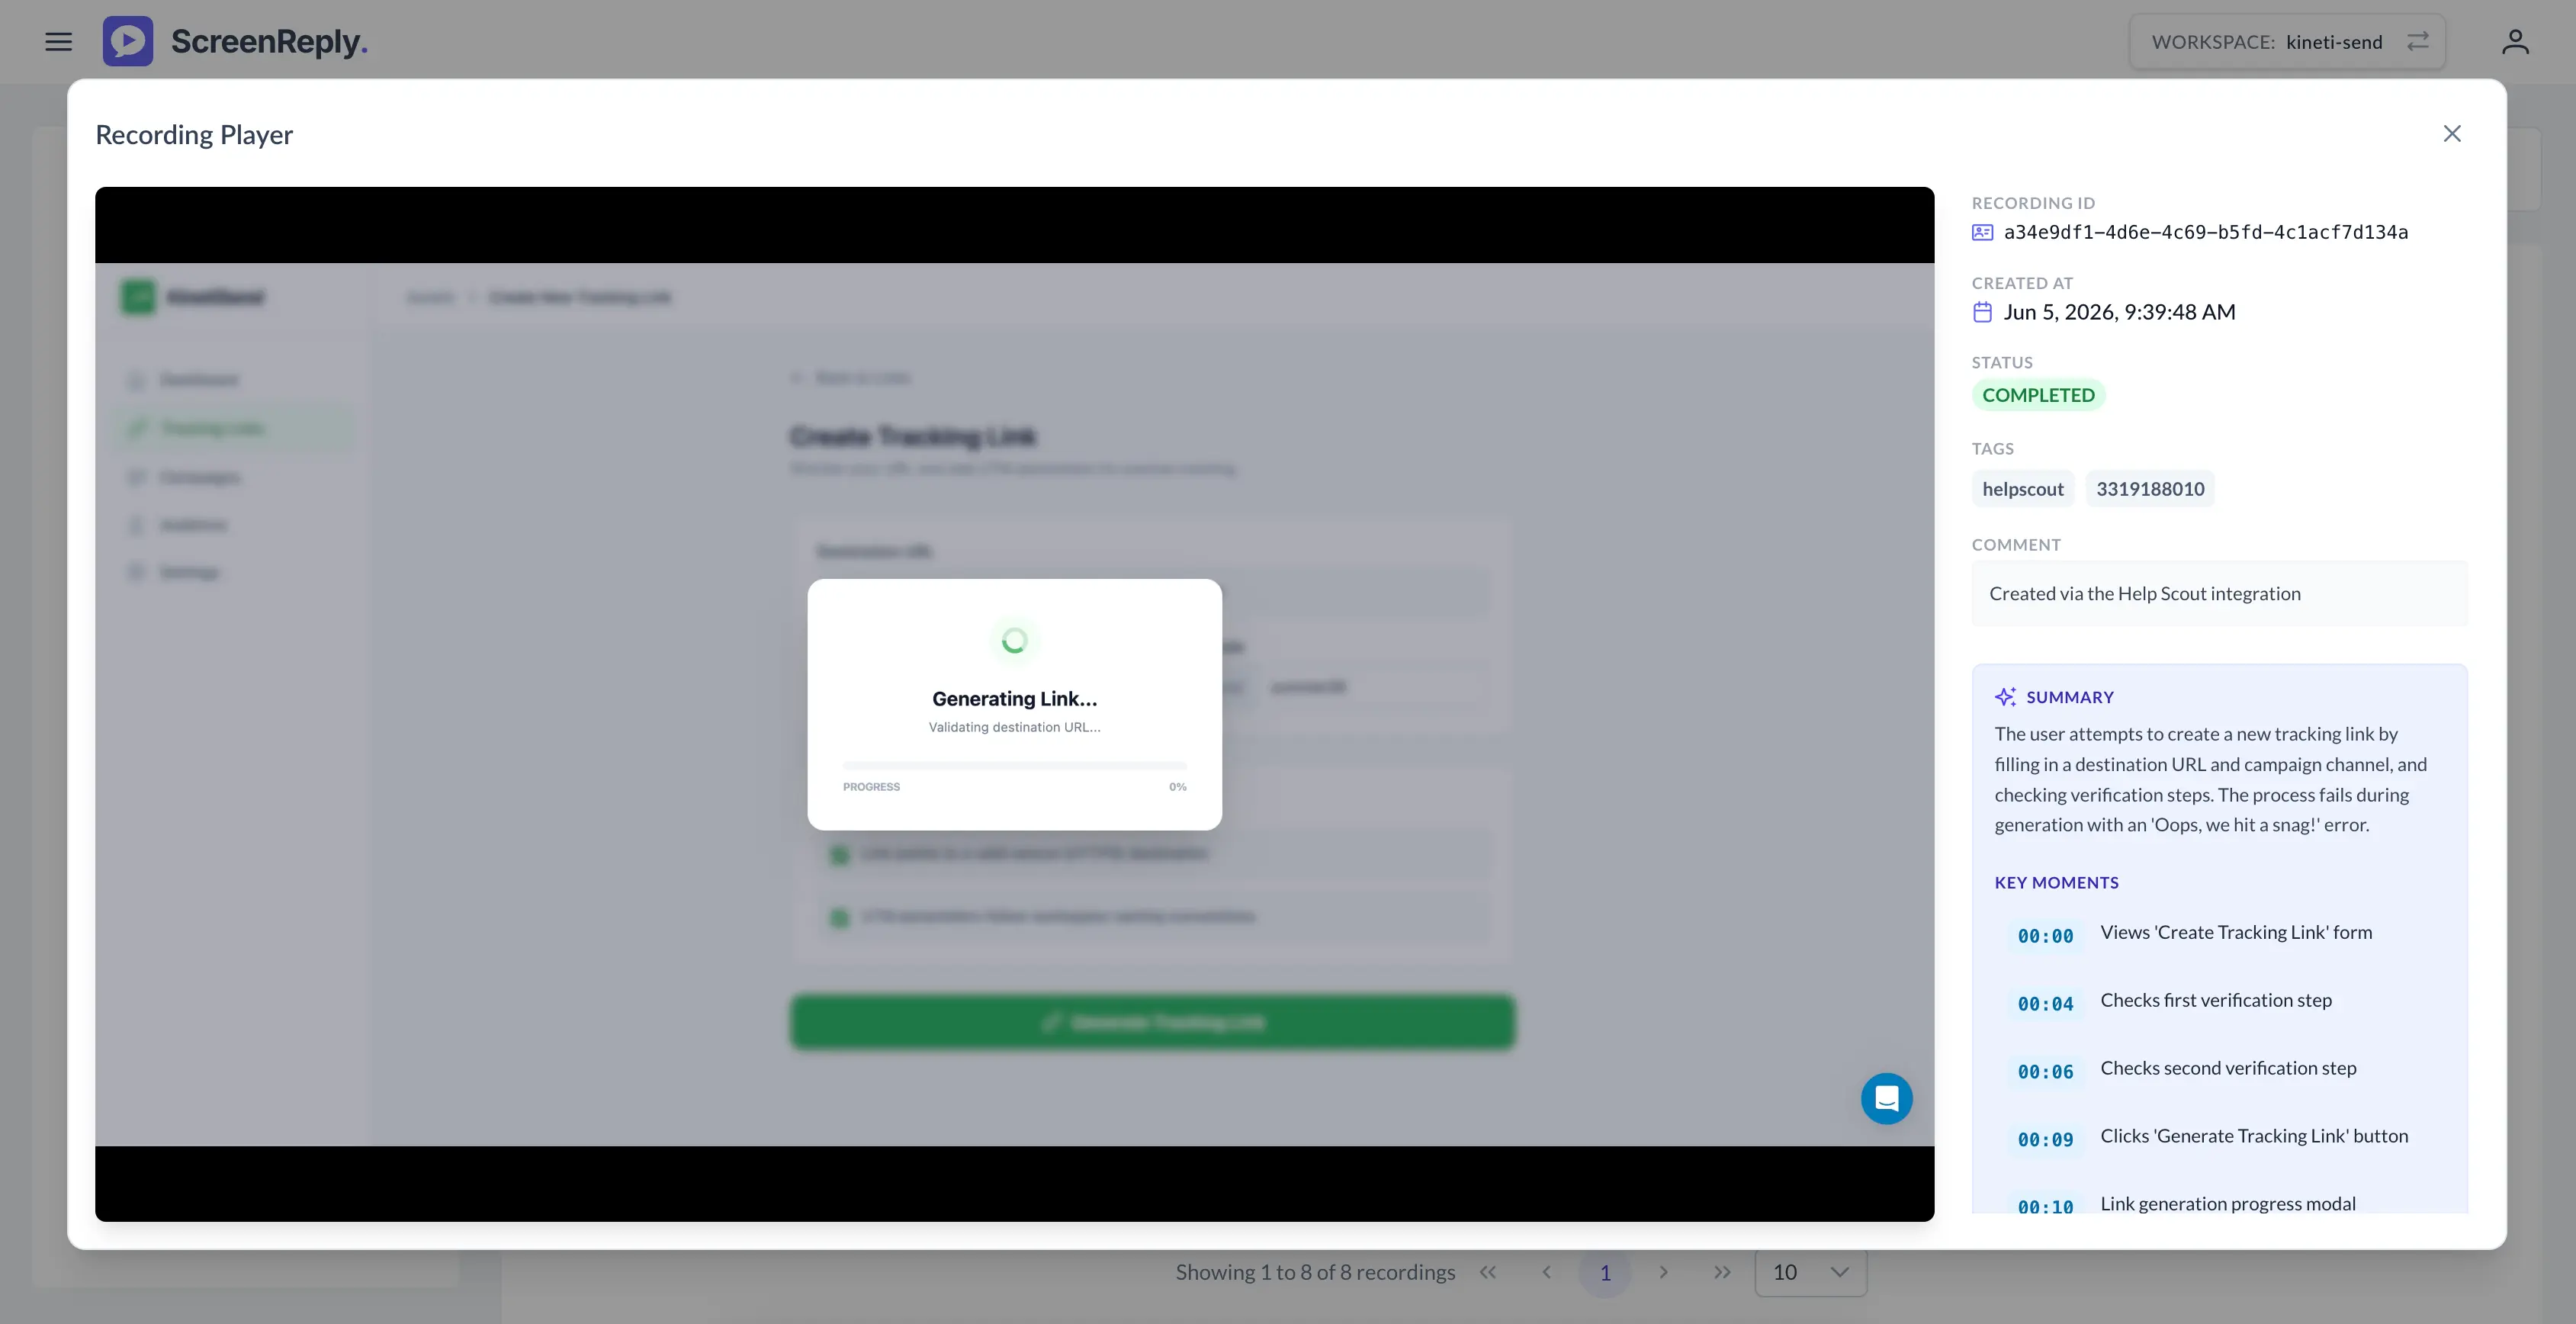
Immediately after the customer finishes recording their screen, the integration will automatically append a private note to that specific Help Scout conversation, alerting your team that the video is ready.
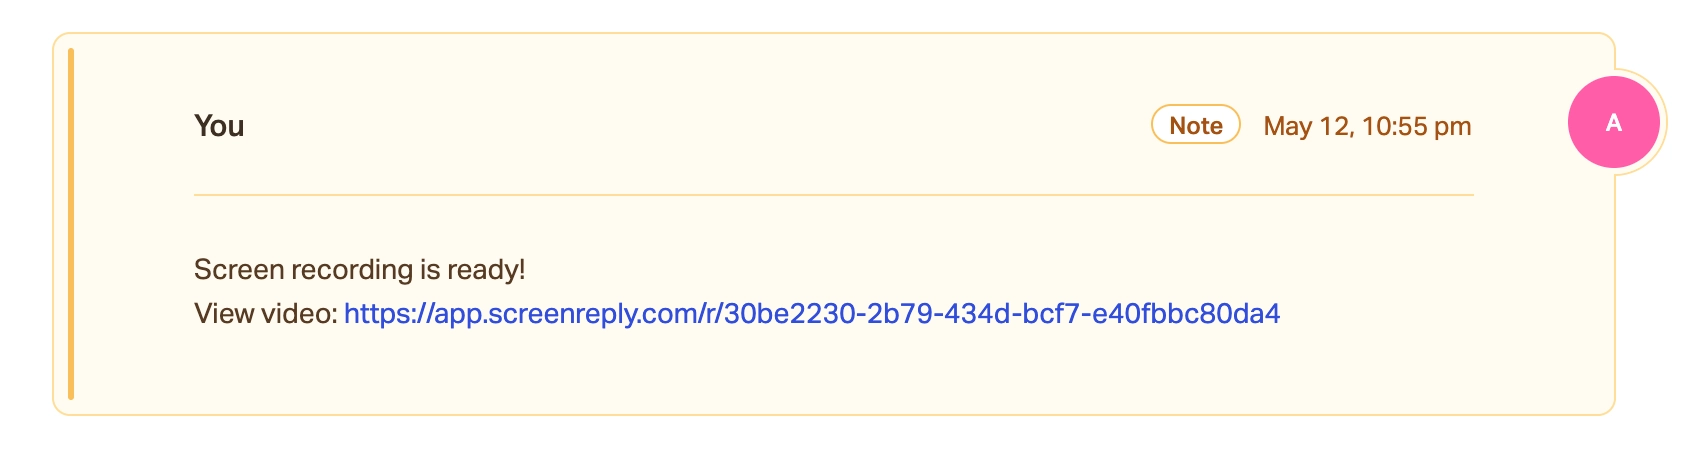
Simply click the URL embedded in the private note to securely stream the video. Get the exact visual evidence you need to provide an accurate, one-touch resolution.