Freshdesk Integration
ScreenReply upgrades your Freshdesk support portal by letting you and your customers share screen recordings with each other to communicate more effectively. Instead of dealing with confusing back-and-forth email chains, you can use the ScreenReply app directly within your ticket sidebar to instantly request a video from a customer or record your own screen. It’s the fastest way to provide visual context and get everyone on the same page.
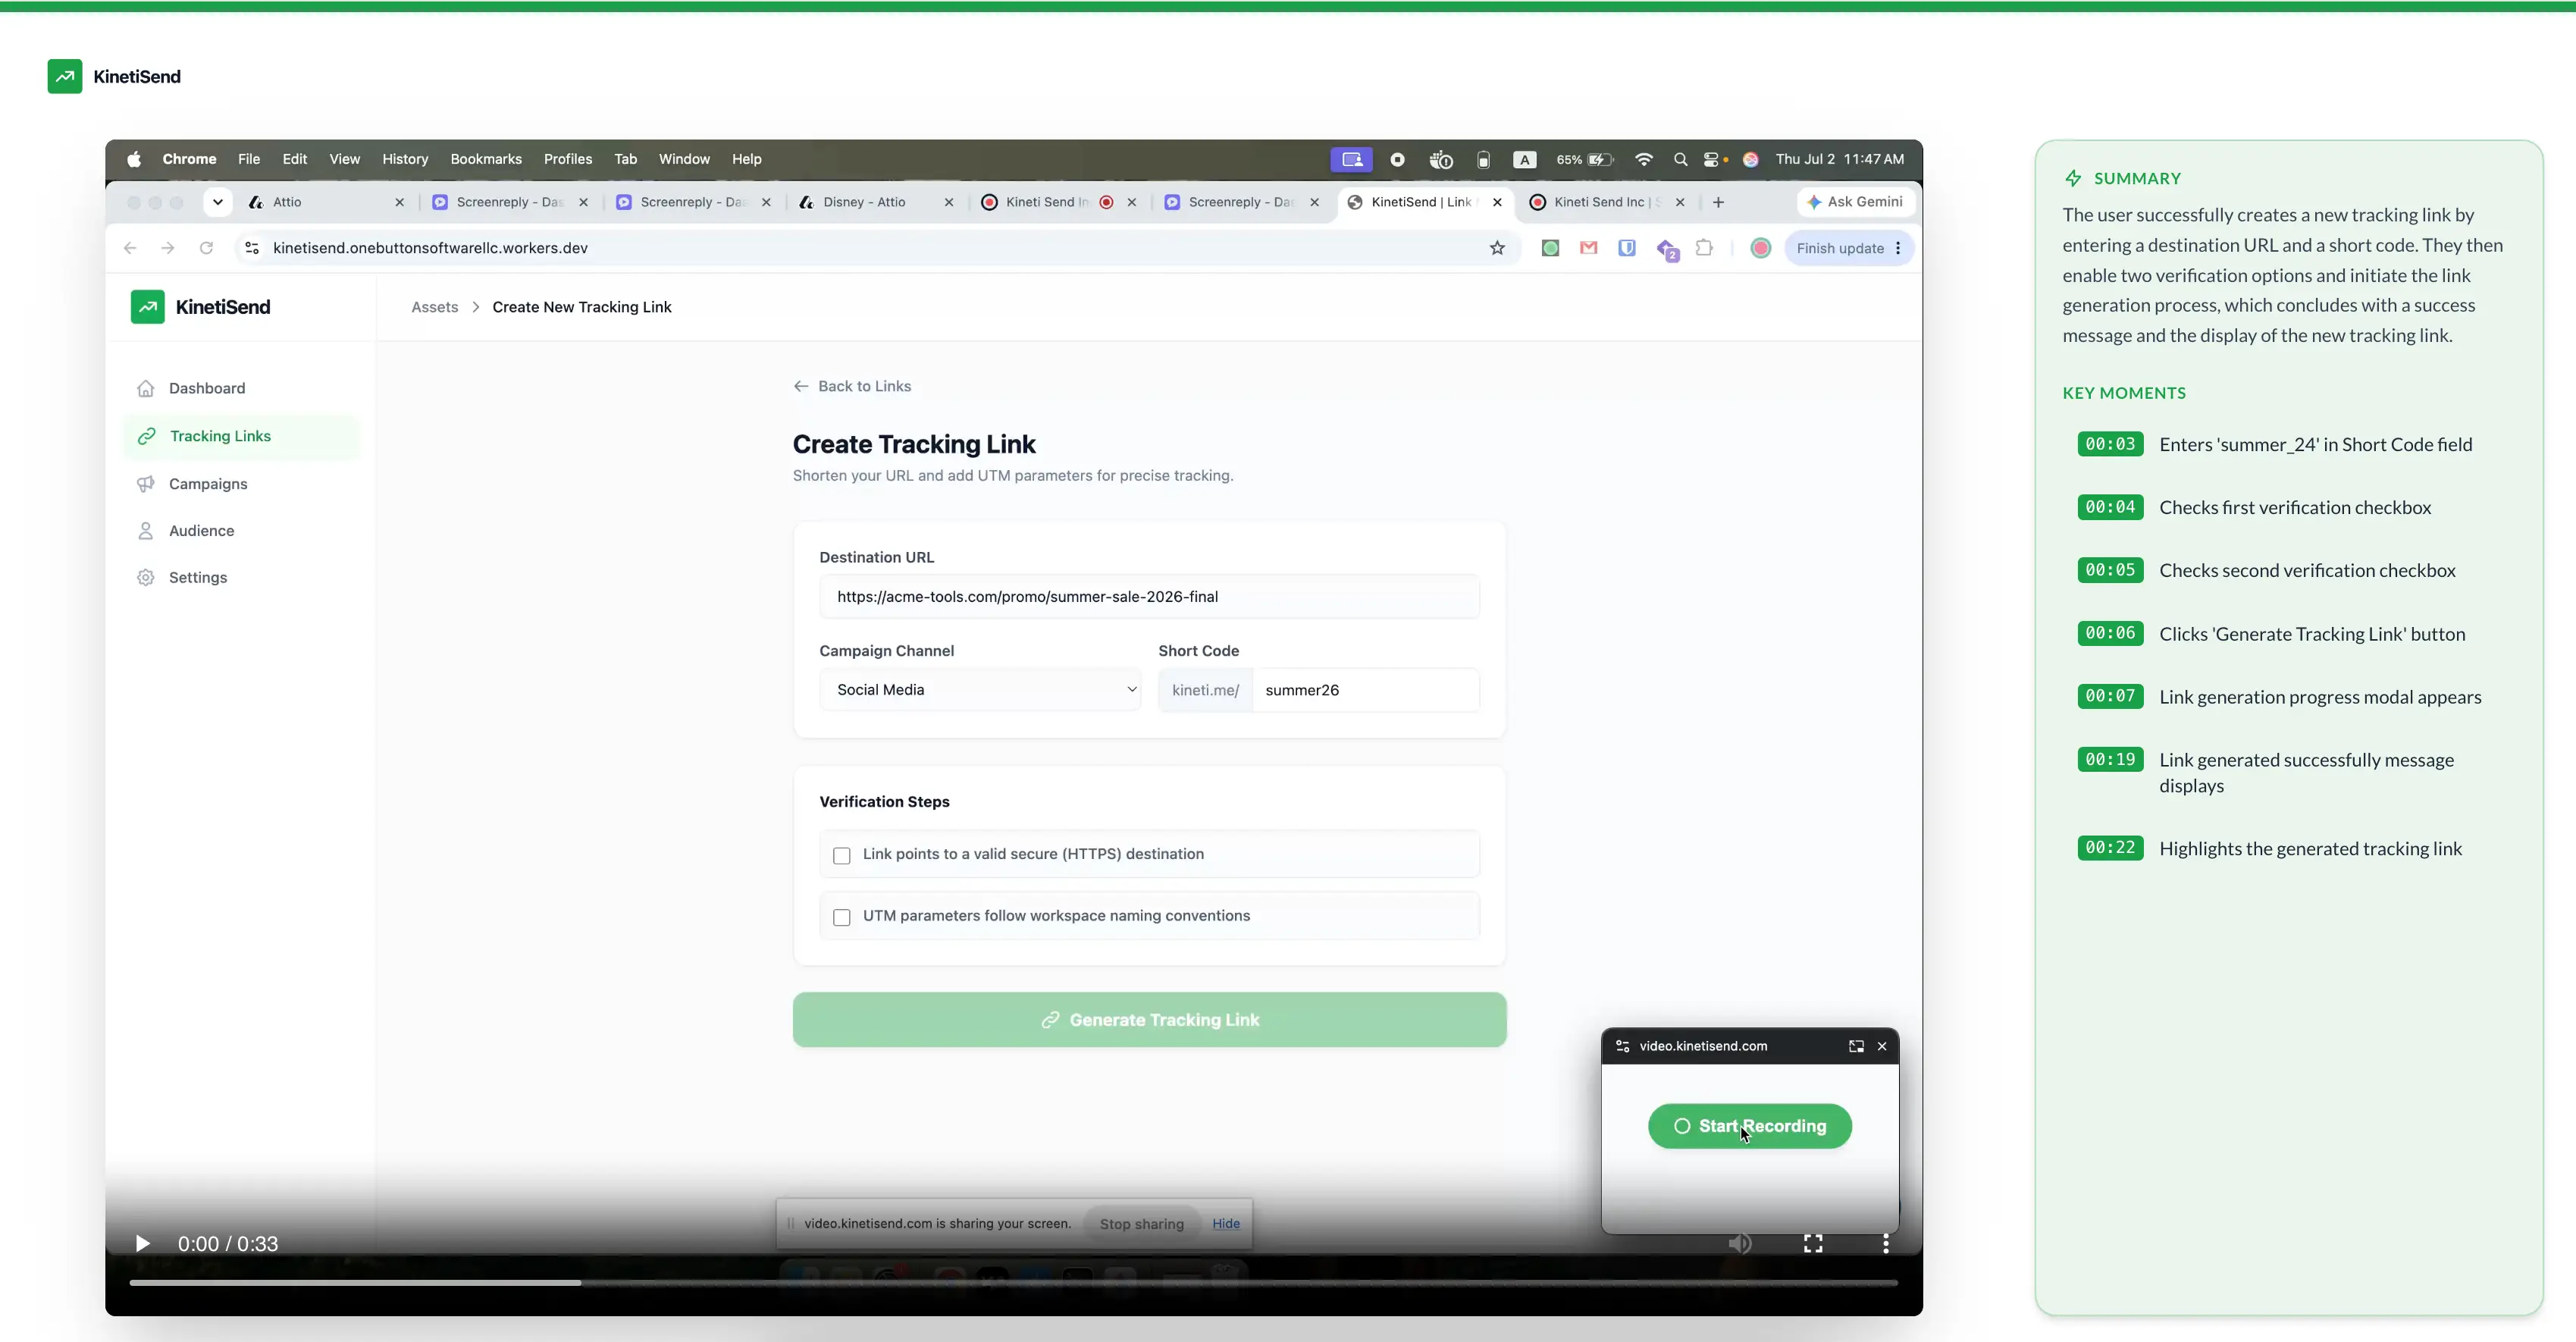
See this integration in action and discover how to let clients share their screen directly in Freshdesk.
Installation & Setup
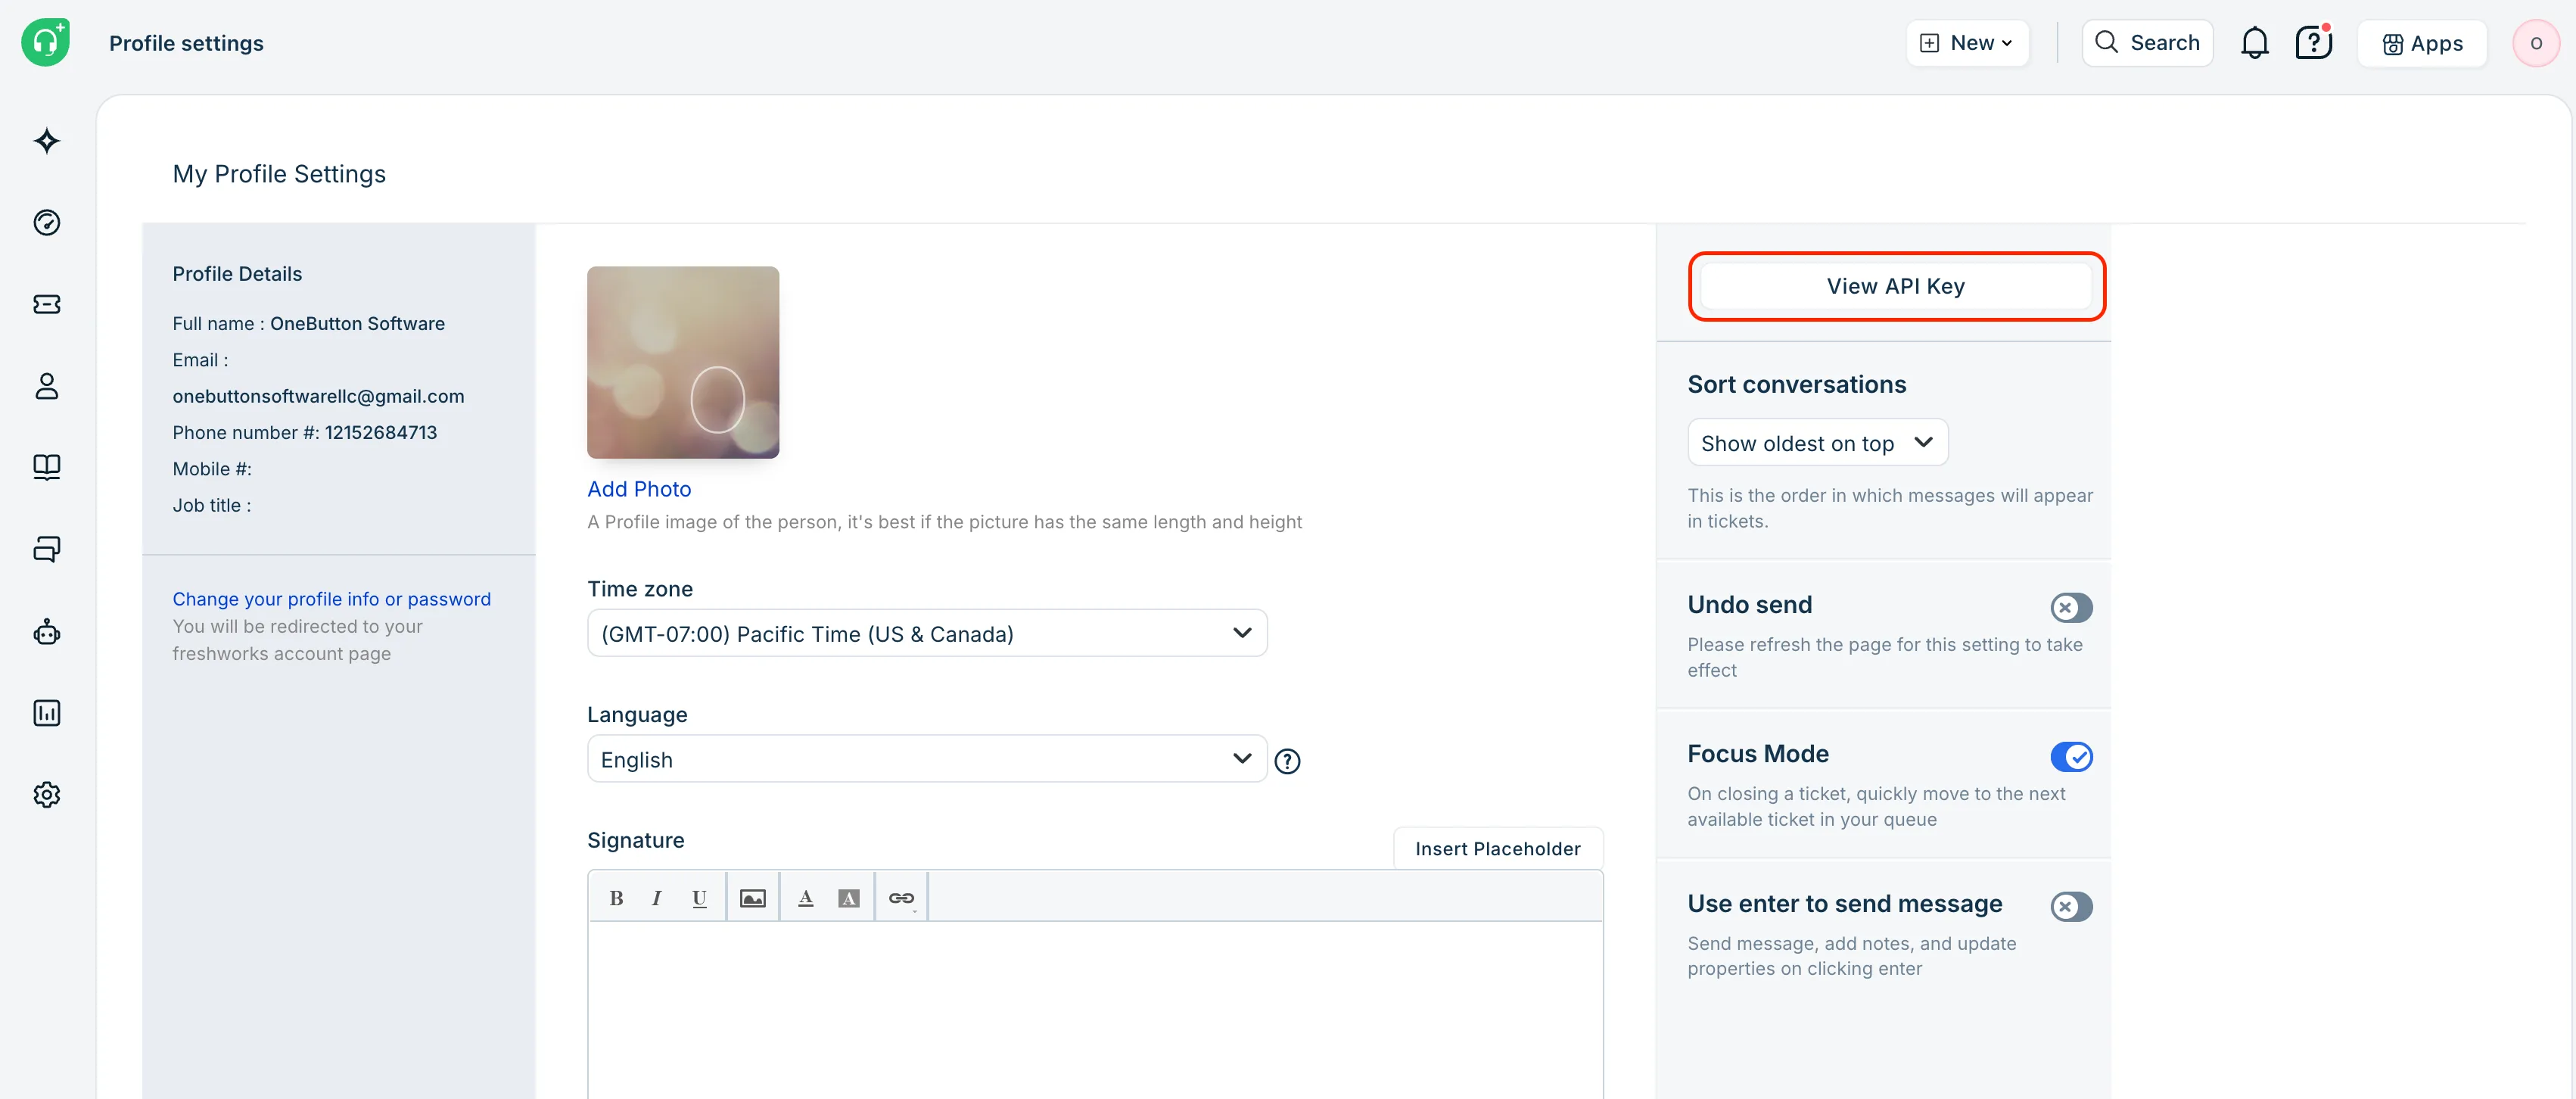
To begin, log into your Freshdesk account. Click on your profile picture in the top right corner and navigate to Profile settings. Here, locate Your API Key (it typically looks like a 20-character string, e.g., WvYz1234AbCdEfGhIjK). Copy and save it somewhere handy, as you will need it for the final installation step.
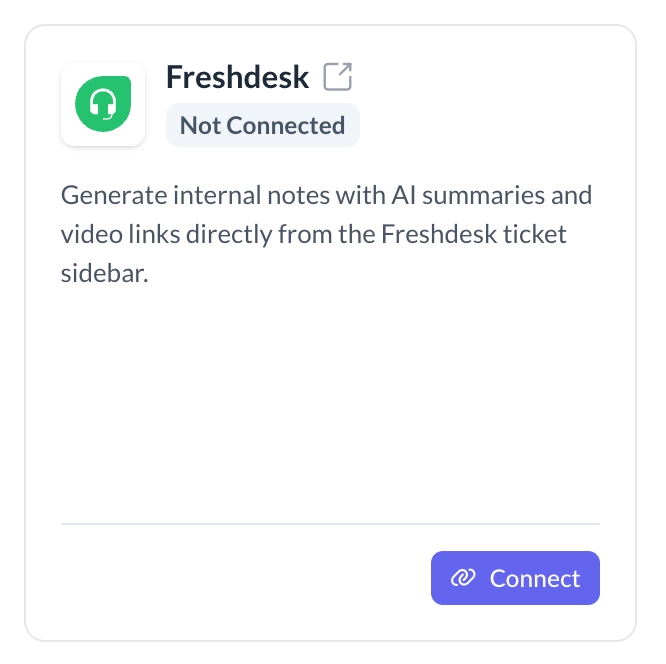
Next, switch over to your ScreenReply account. Navigate to the Integrations section from the main menu, locate the Freshdesk module, and click the Connect button.
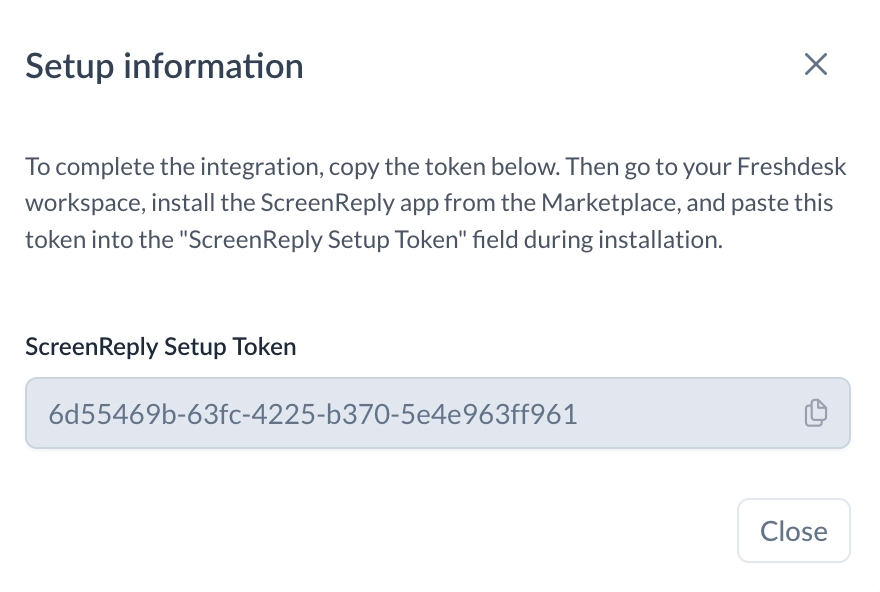
After clicking Connect, the integration status will change to Pending, and a setup window will automatically appear revealing your unique ScreenReply Setup Token. Copy this token and keep it together with your Freshdesk API Key, as you will need both in just a moment.
Now, browse the official Freshworks Marketplace , search for the ScreenReply application, and click the Install button. When the installation form appears, paste your saved Freshdesk API Key and ScreenReply Setup Token into their respective fields, then click Install to finalize the setup.
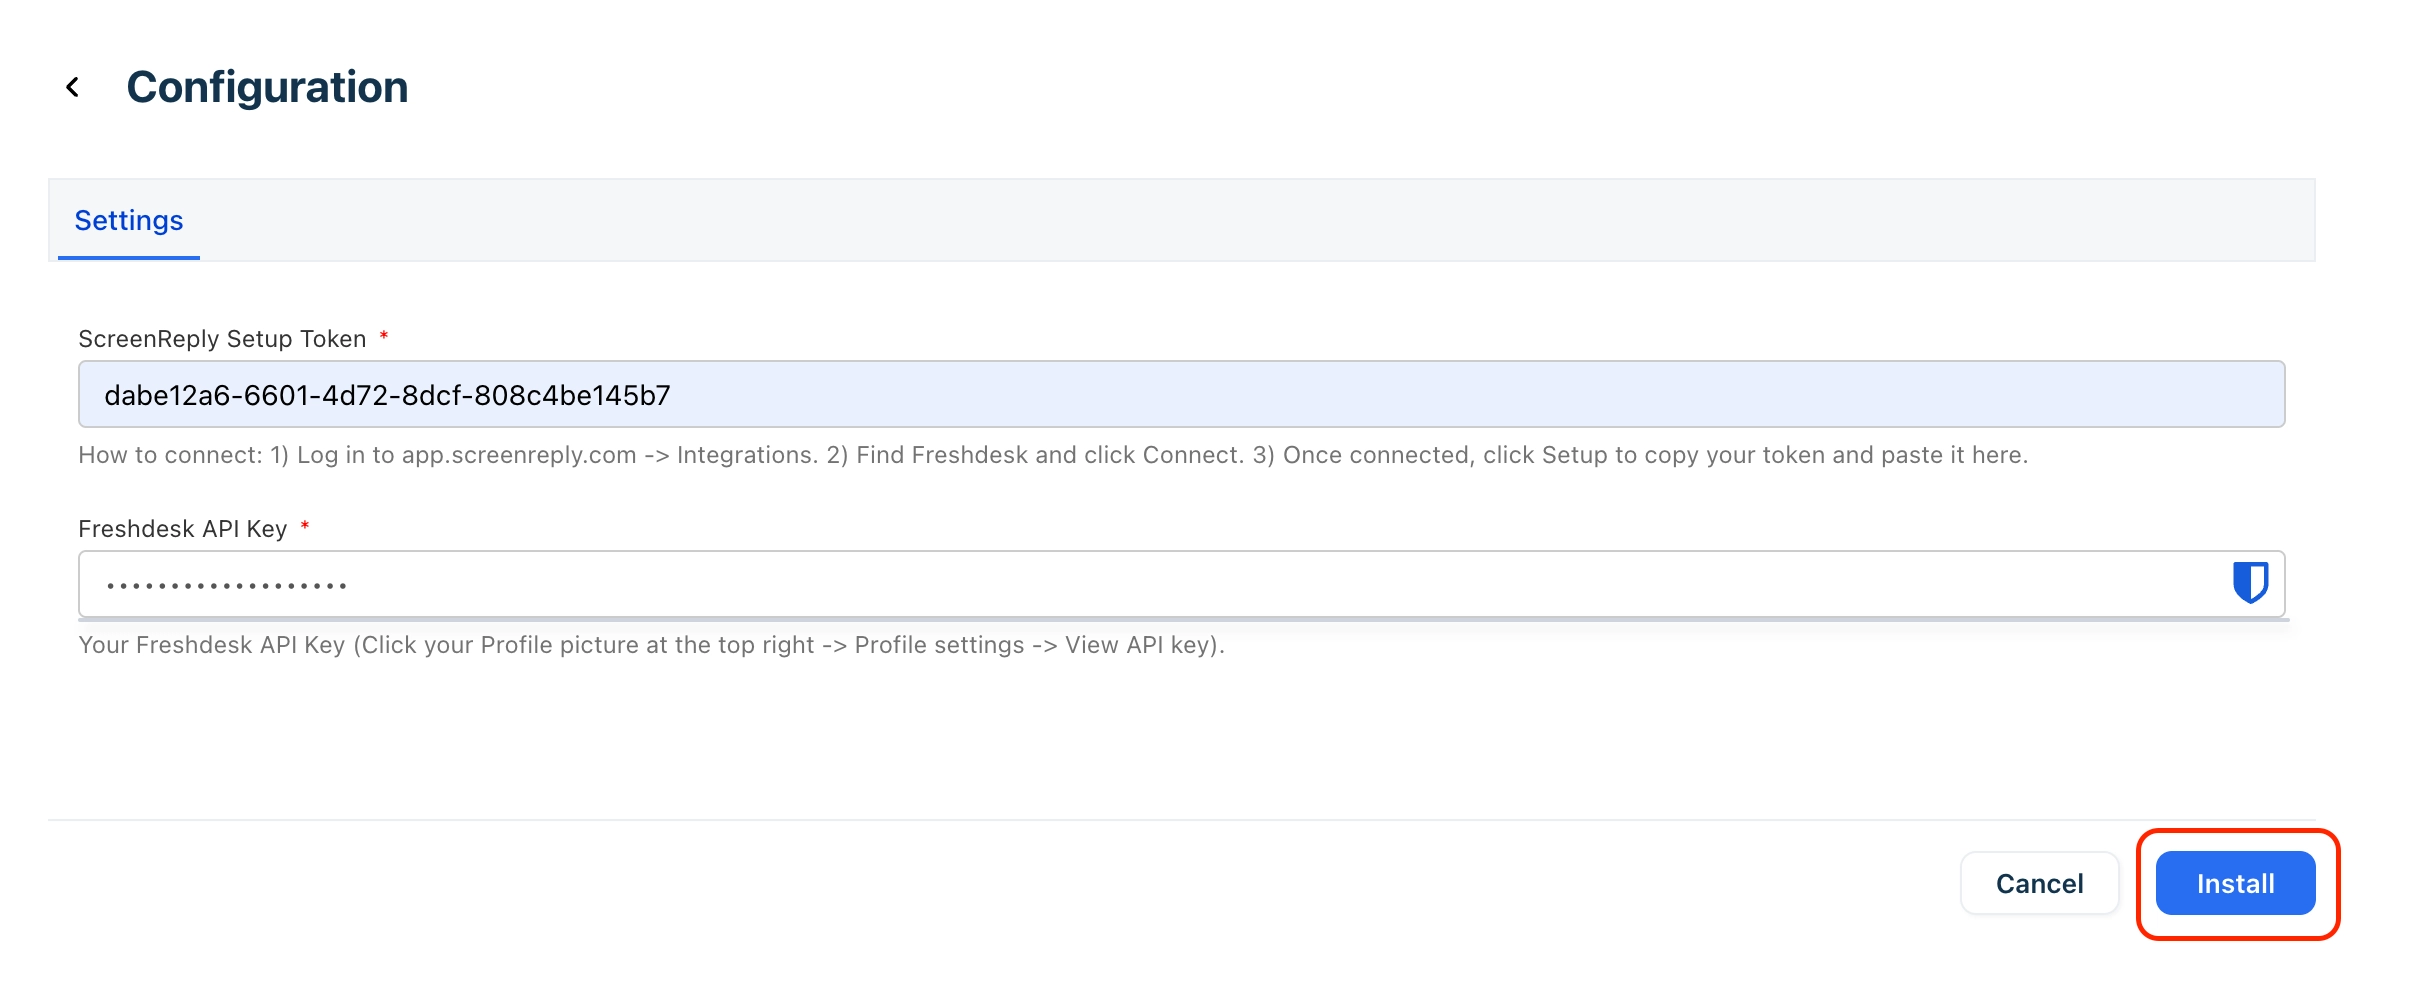
Finally, return to the Integrations section in your ScreenReply dashboard and refresh the page. The Freshdesk integration status should now update to Connected, confirming that the setup was successful and the app is ready to use.
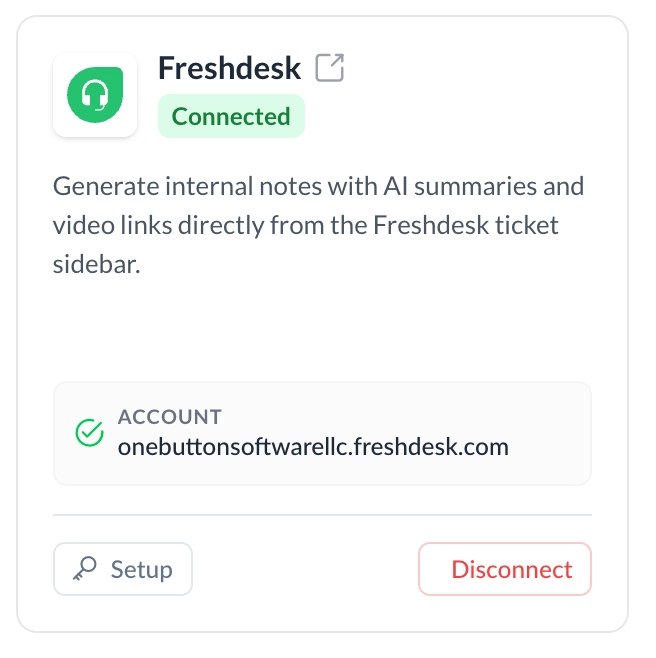
How to Use
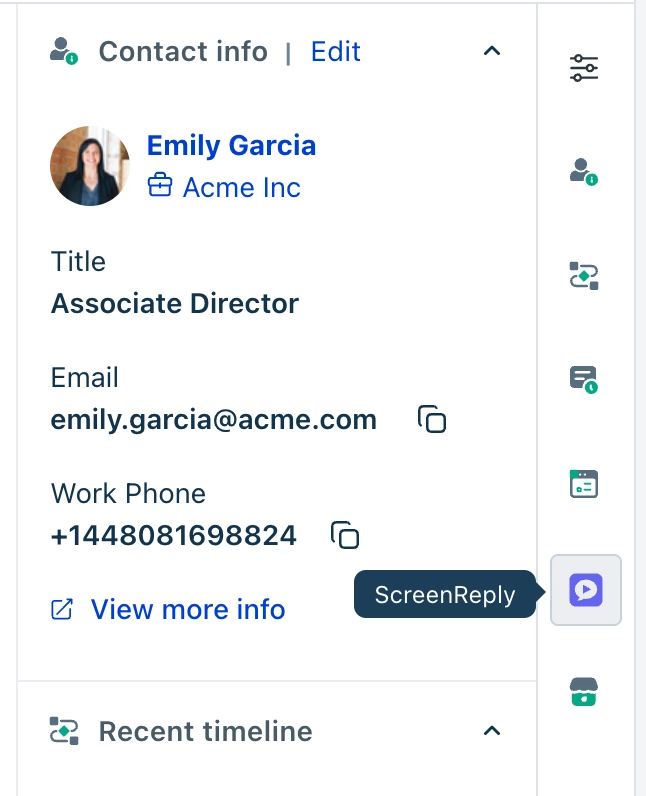
Navigate to any support ticket in your Freshdesk workspace. In the sidebar, locate the ScreenReply widget to access the application interface.
Scenario 1: Request a Screen Recording
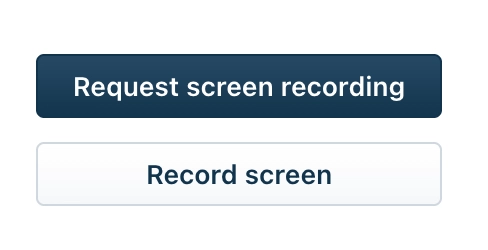
Click Request screen recording to instantly generate a secure, unique URL tailored for your customer to record their issue.
When your link is ready, it will appear right on your screen and can be seamlessly inserted into the ticket editor. Just send it to the client, allowing them to effortlessly record their screen and provide you with instant visual context.
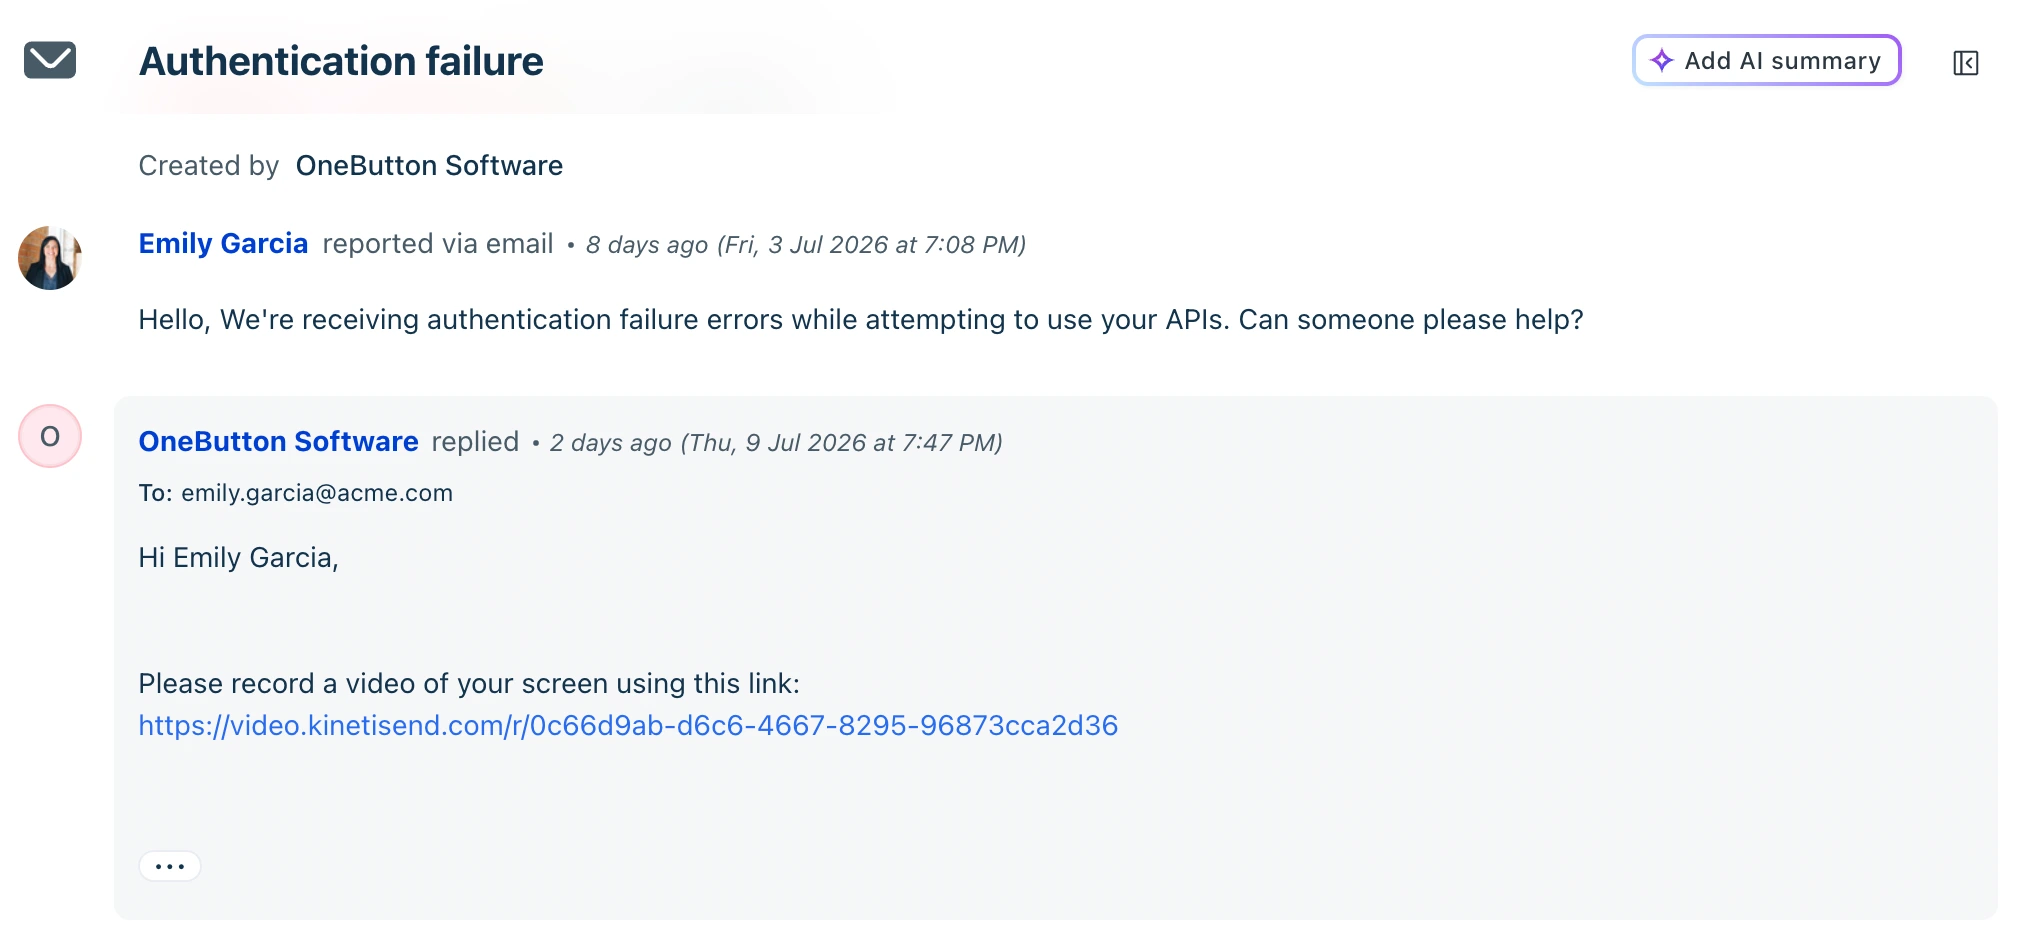
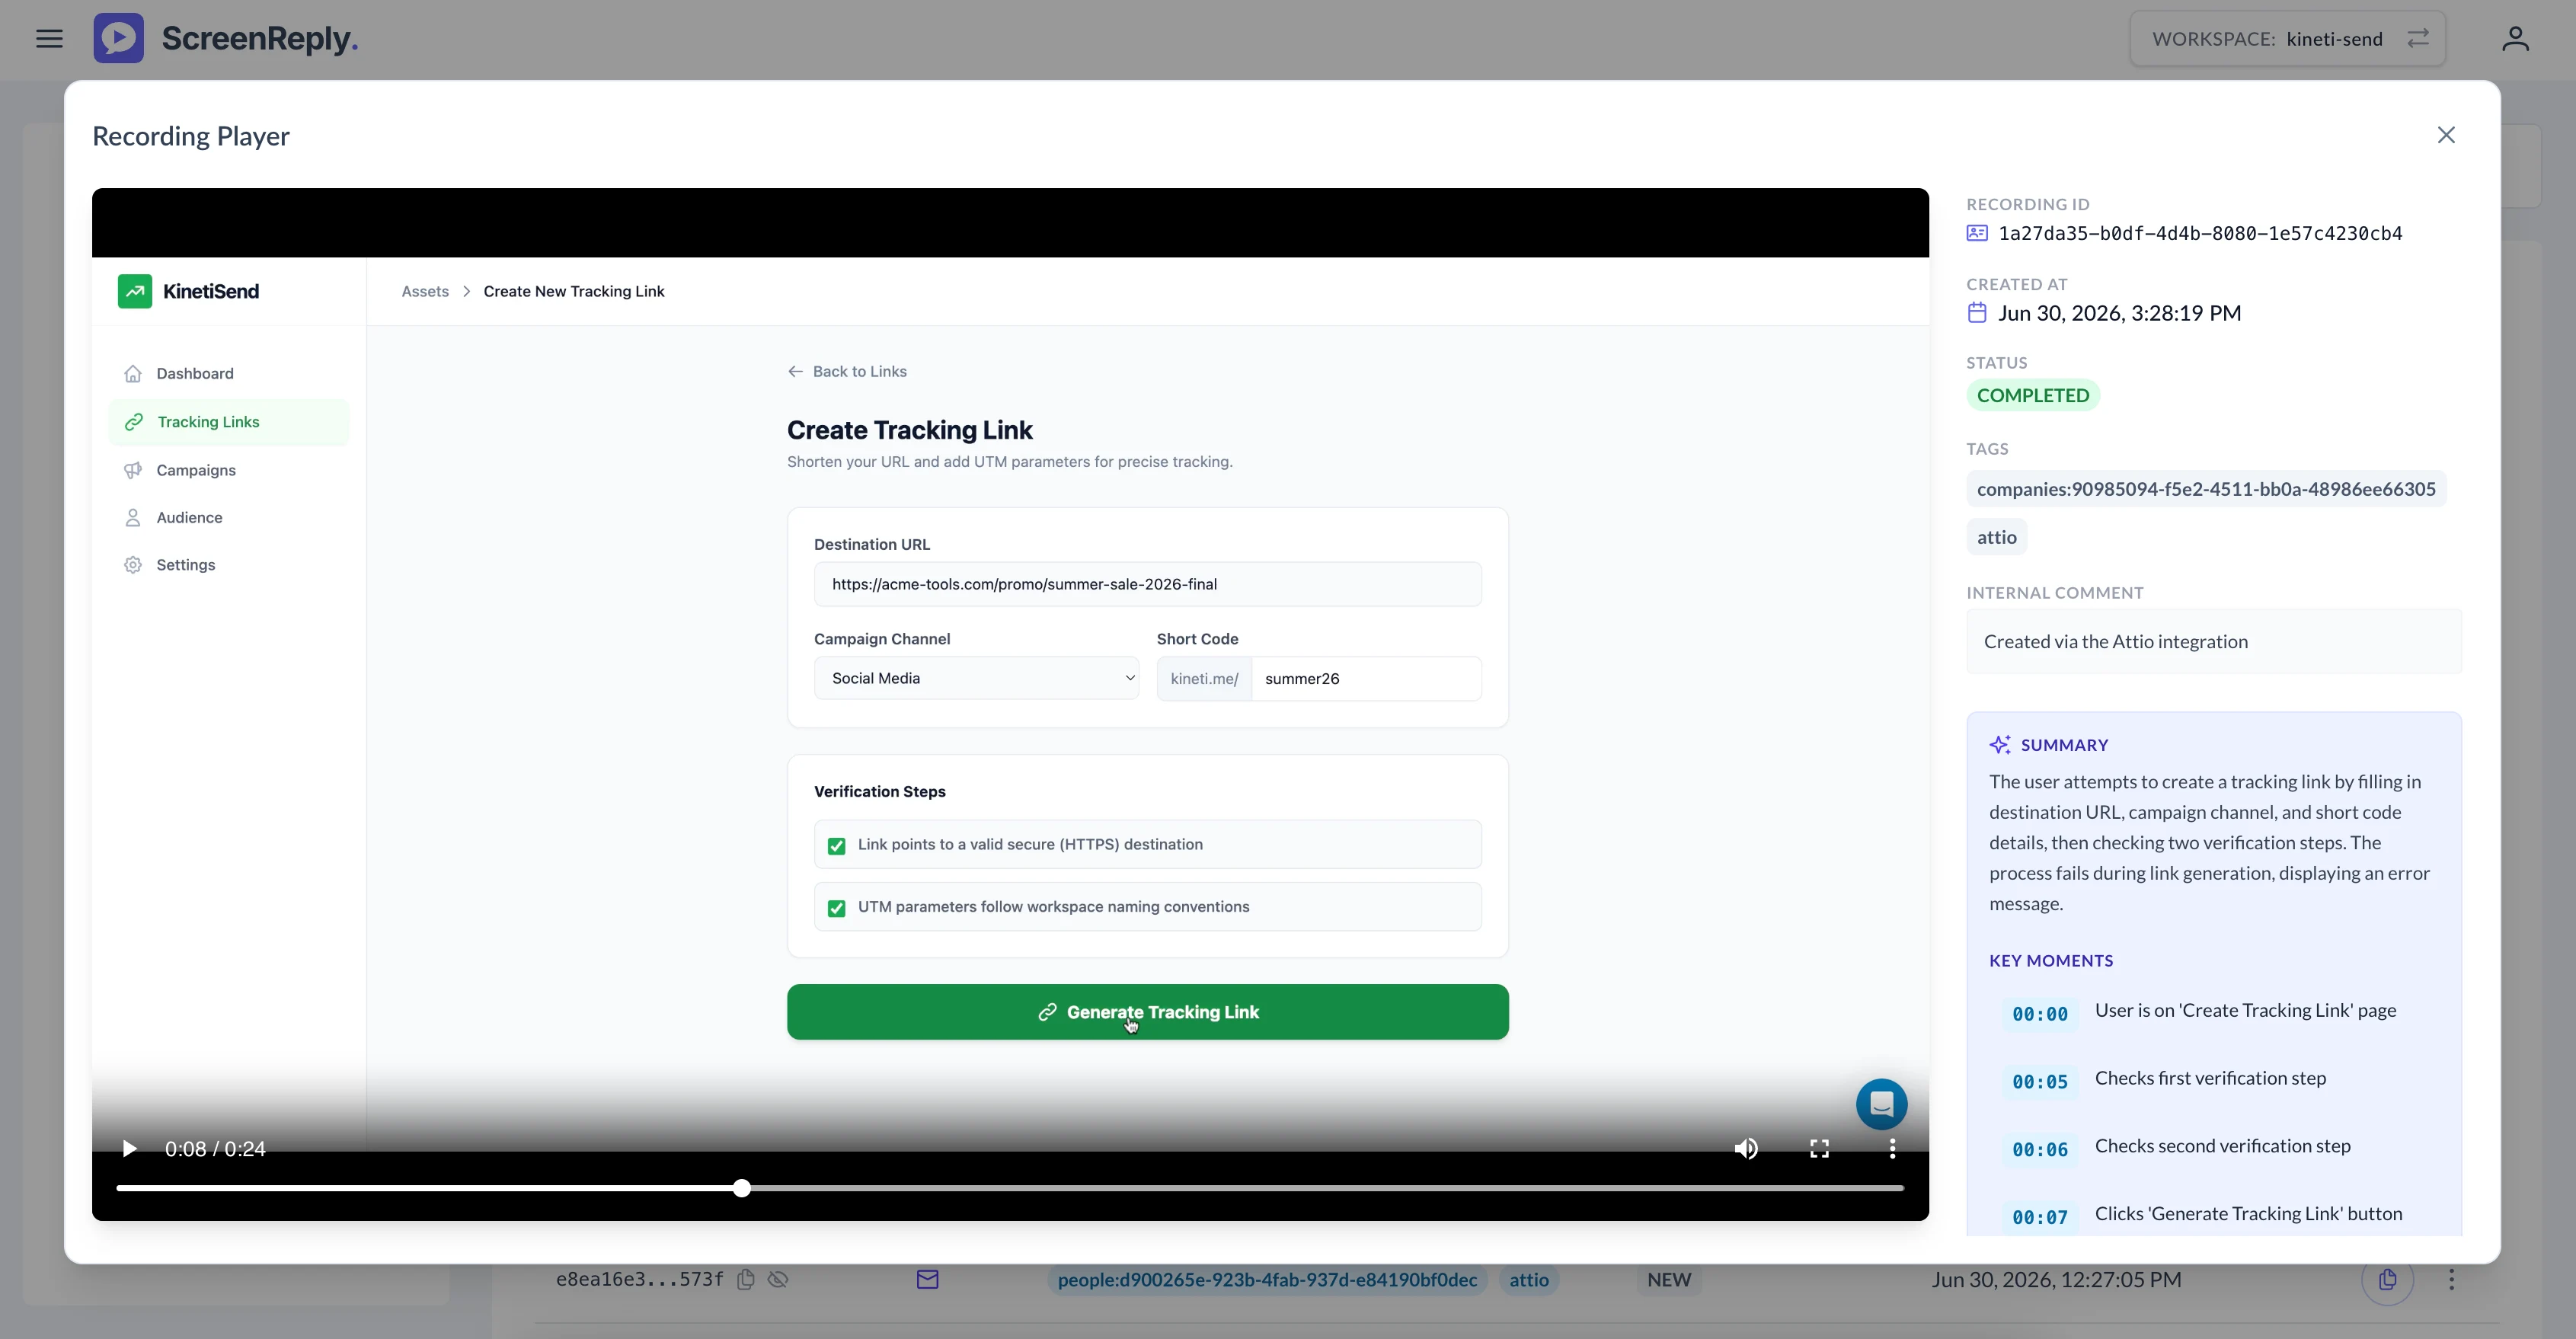
As soon as the customer finishes recording, ScreenReply automatically adds a private note to the corresponding Freshdesk ticket containing a secure link to the video.

Clicking this link opens a dedicated player featuring an AI-generated summary and clickable timestamps, allowing you to instantly jump to key moments and resolve the inquiry faster.
Scenario 2: Record Your Own Screen
Alternatively, if you want to capture a video yourself to guide the customer, click Record screen. This will open a pre-filled form with the recording type automatically set. Simply click the Record button to start capturing your screen and walking the customer through the solution.
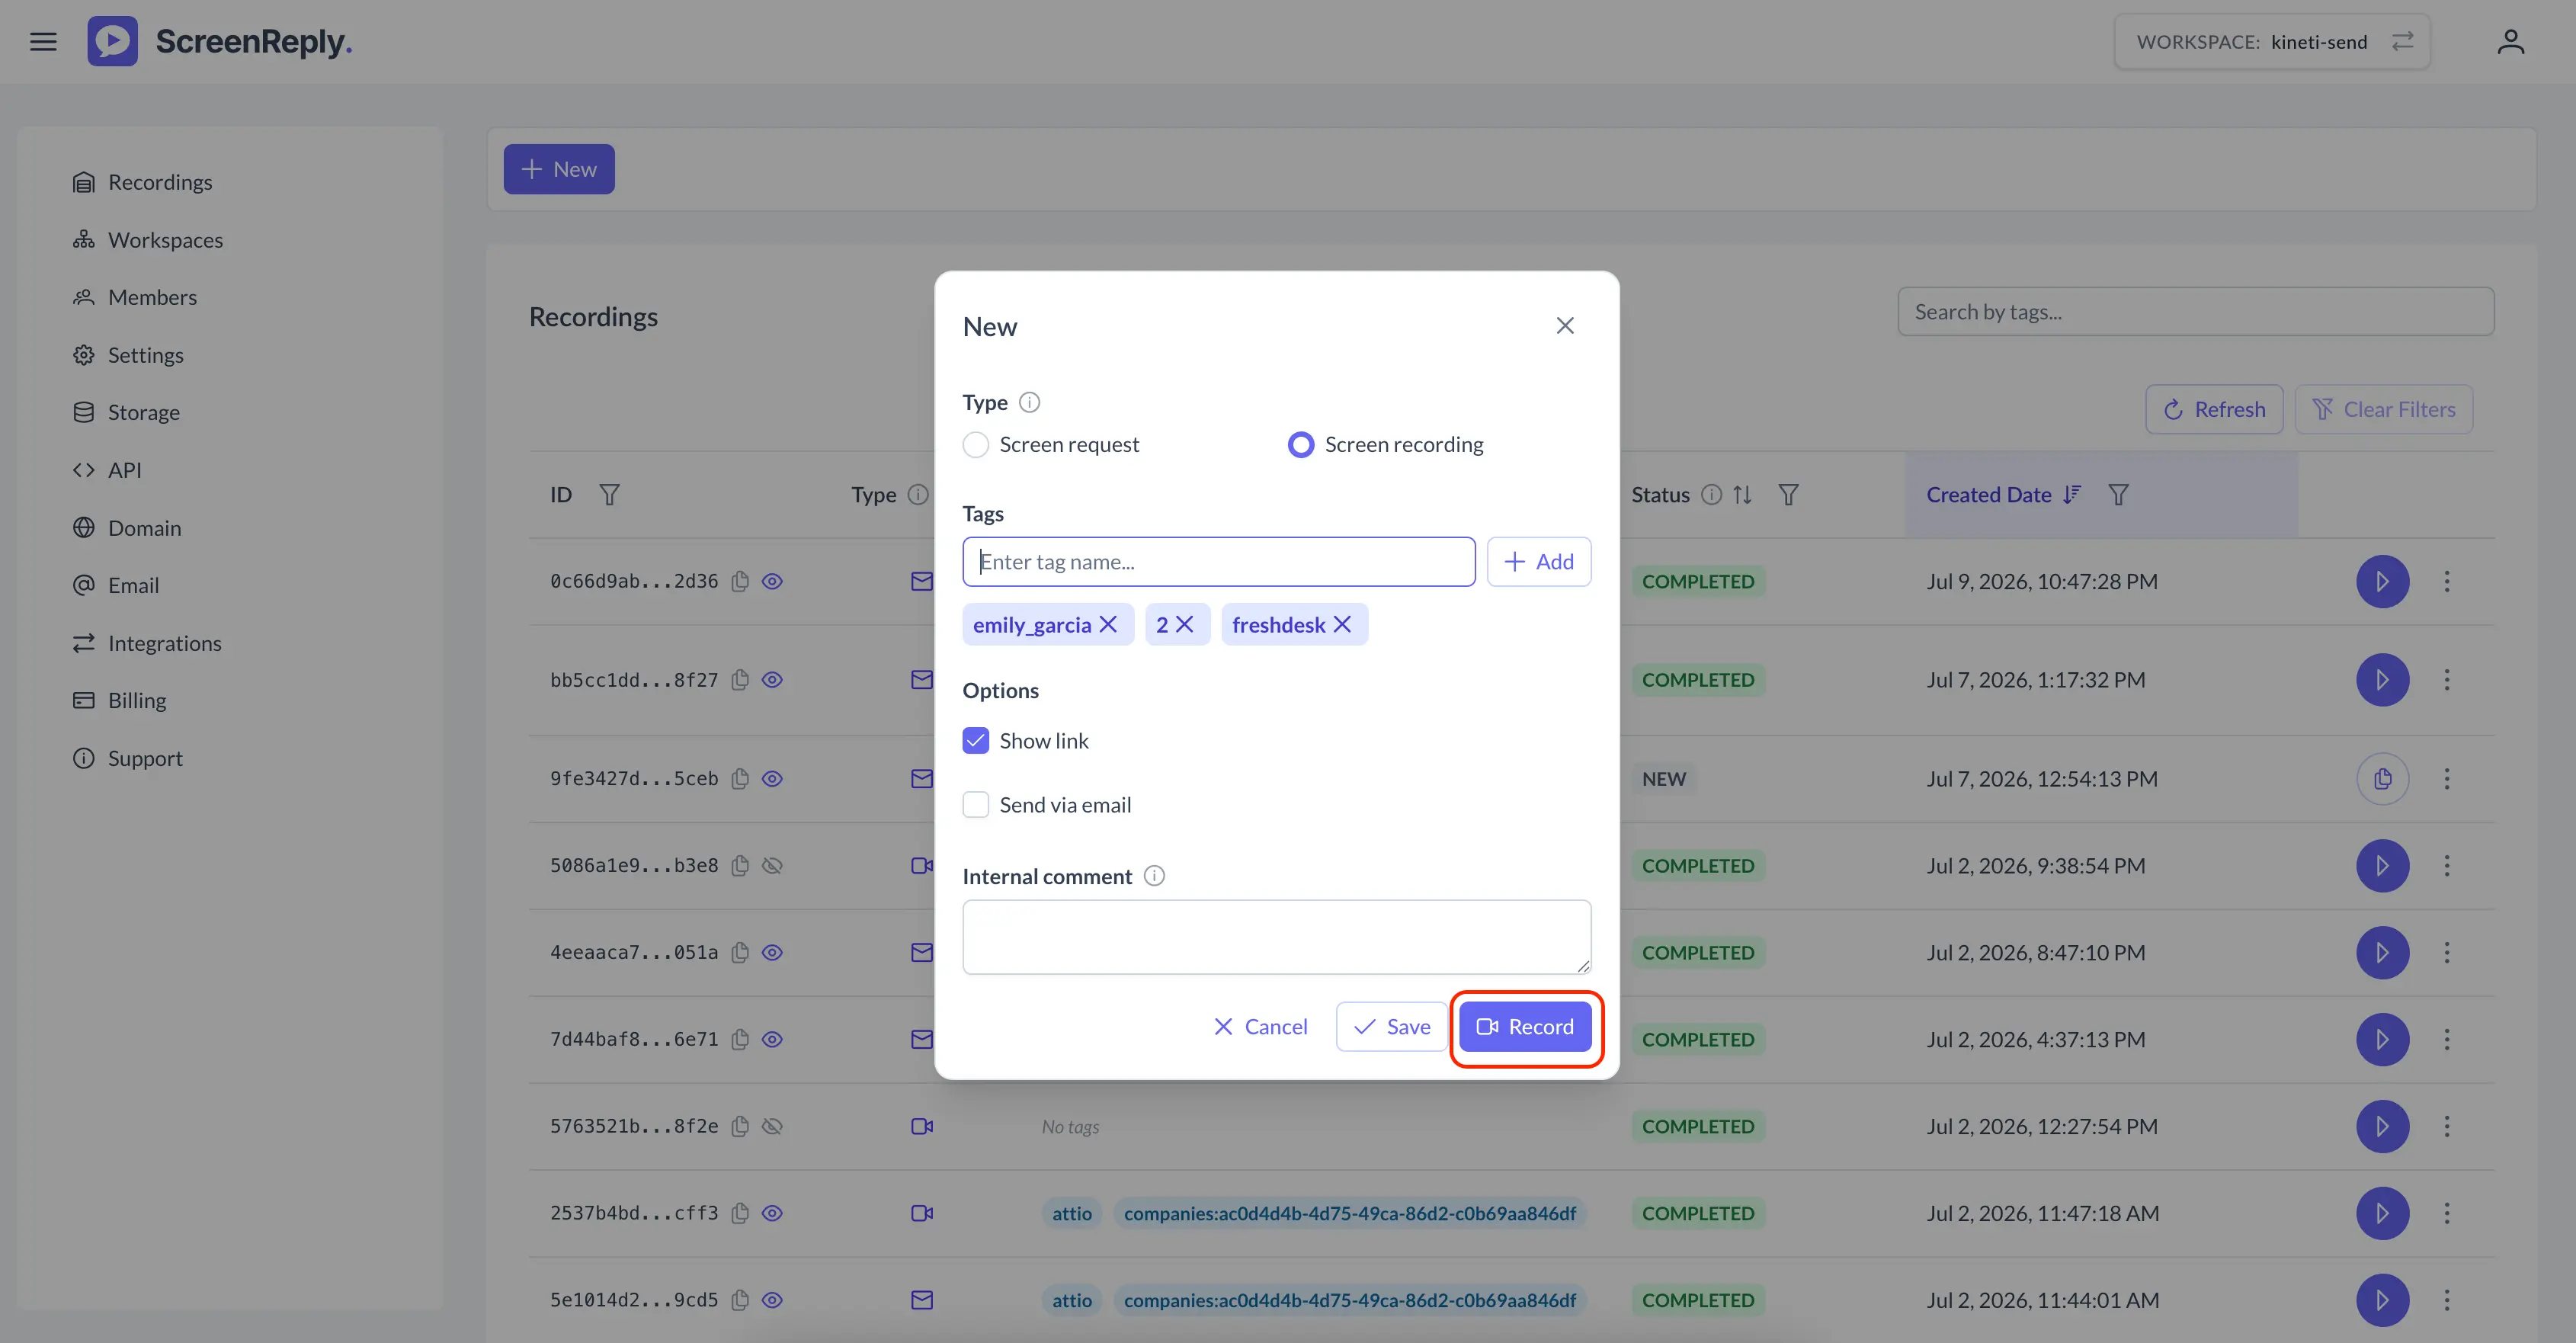
Once you finish recording, you will receive a direct link to the video. You can easily insert this link into your reply. When the client opens the link, they will be greeted with the dedicated player featuring your video, a clear AI-generated summary, and timestamps to help them follow your instructions step-by-step.